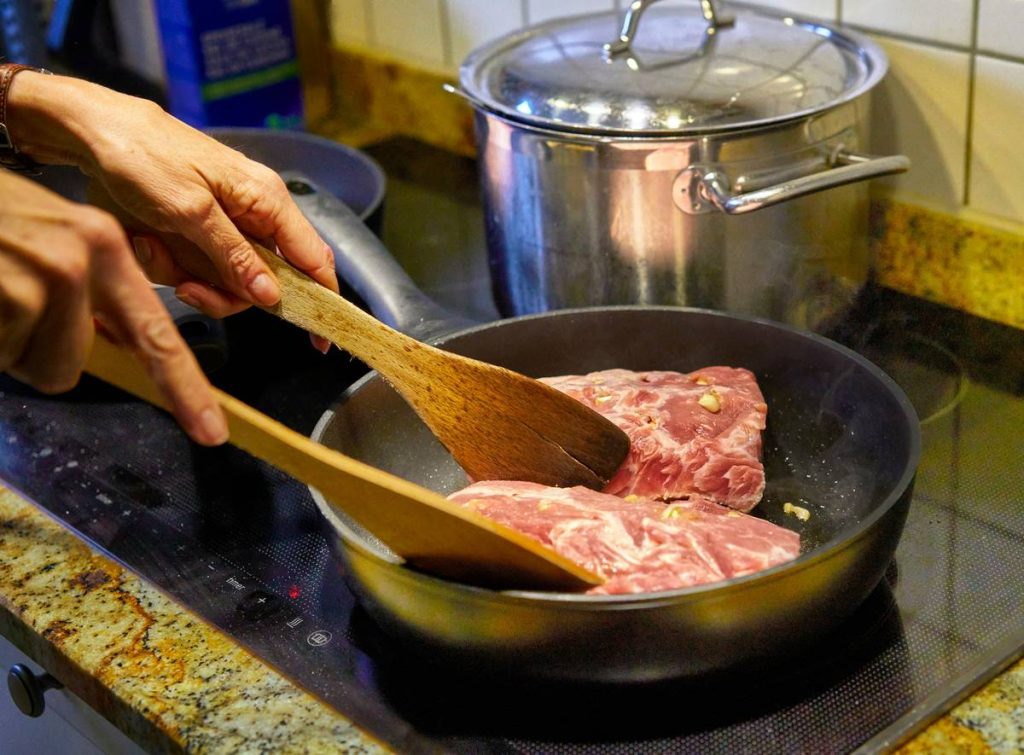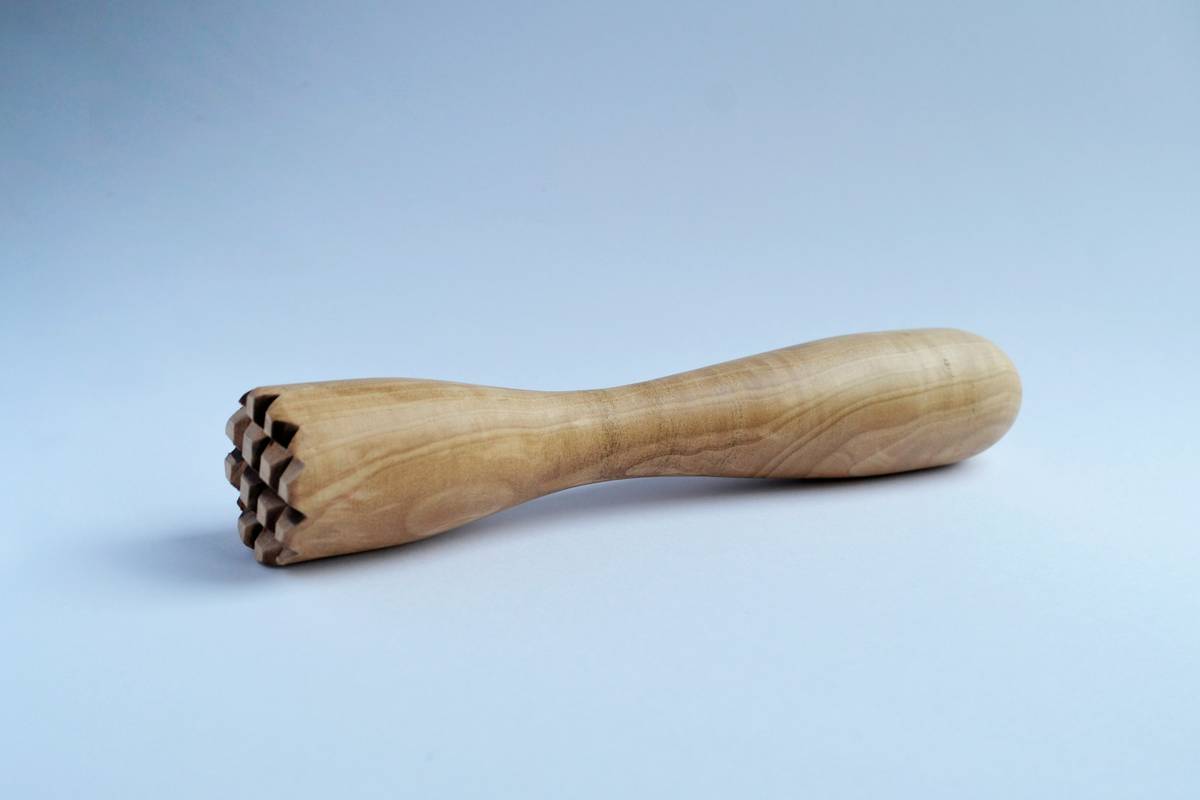
If you’ve ever bitten into a tough, chewy steak that felt like gnawing on boot leather, you know why finding the right tool for tenderizing meat matters. It’s not just about comfort—it’s about transforming budget cuts into restaurant-worthy meals without breaking the bank. In this guide, we’ll walk you through exactly how to choose, use, and maintain your meat tenderizer so you never ruin another sirloin again.
Table of Contents
- Why the Right Tool for Tenderizing Meat Matters in Home Improvement
- Step-by-Step Guide to Using Your Meat Tenderizer Correctly
- 5 Best Practices for Maximum Tenderness (Without Turning Meat to Mush)
- Real Results: Case Study from My Kitchen Disaster
- FAQs About Meat Tenderizers
Key Takeaways
- The best tool for tenderizing meat depends on cut type, cooking method, and desired texture—not just brute force.
- Mechanical tenderizers (like spiked mallets or bladed devices) work differently than enzymatic or acidic marinades.
- Over-tenderizing is a real problem—especially with ground beef or thin cuts.
- Cleanliness and storage directly impact tool longevity and food safety.
- Never skip the “test patch” method on expensive cuts.
Why the Right Tool for Tenderizing Meat Matters in Home Improvement
In home improvement, we often think of hammers, drills, and saws—but your kitchen is a workshop too. And just like using the wrong drill bit can crack concrete, using the wrong tool for tenderizing meat can destroy dinner.
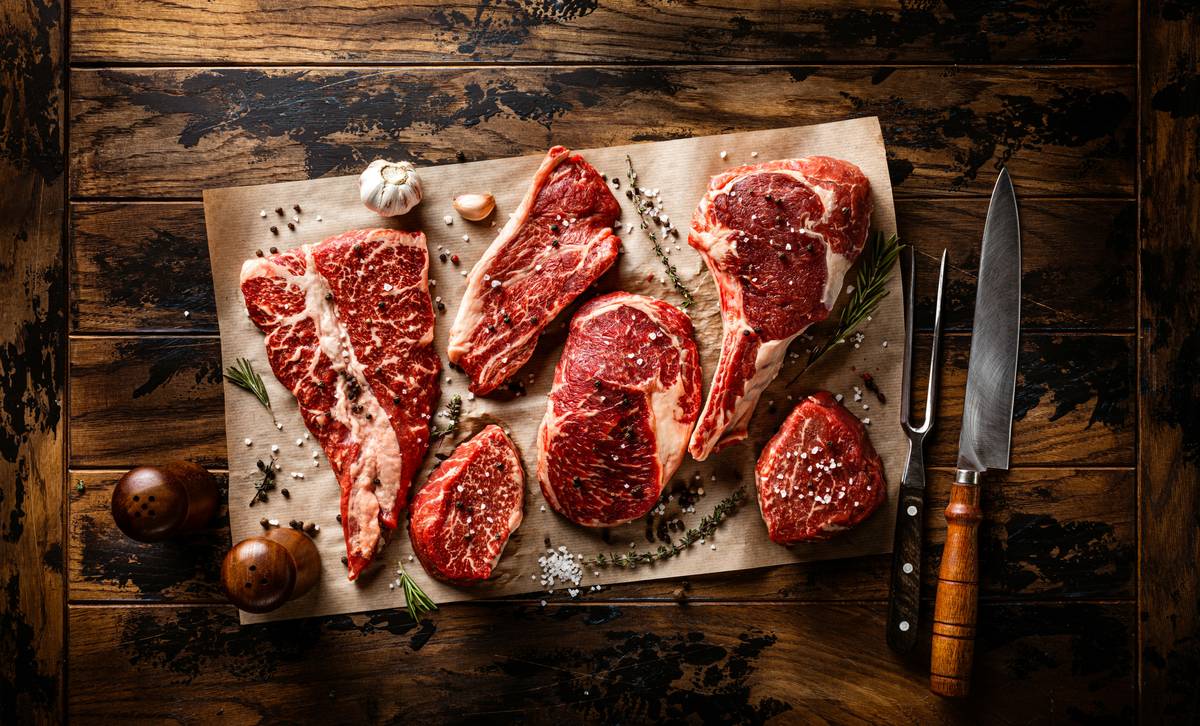
Meat grinders sometimes double as tenderizers, but that’s a common misconception. Grinding shreds muscle fibers; tenderizing gently breaks them down while preserving structure. According to the USDA Food Safety and Inspection Service, improper mechanical tenderizing can push surface bacteria deeper into meat, increasing foodborne illness risk if not cooked properly (USDA, 2023). That’s why technique matters as much as tool selection.
Step-by-Step Guide to Using Your Meat Tenderizer Correctly
1. Identify Your Cut
Tough cuts like flank steak, round, or chuck benefit most. Delicate cuts like filet mignon? Skip it—you’ll only damage their natural tenderness.
2. Chill the Meat First
Cold meat holds its shape better. Pop it in the freezer for 20 minutes before tenderizing.
3. Use Light, Even Strokes
Don’t Hulk-smash it. Cover the meat with plastic wrap and tap firmly but evenly across the surface—about 10–15 passes per side usually does it.
4. Clean Immediately After
Residue dries fast. Wash with hot, soapy water and dry thoroughly to prevent rust or bacterial growth.
5 Best Practices for Maximum Tenderness (Without Turning Meat to Mush)
- Match the tool to the task: Bladed tenderizers (like Jaccard models) are ideal for steaks; mallets work better for chicken breasts or pork chops.
- Avoid the “more is better” trap: Overuse creates a paste-like texture—especially with ground applications. Less is more.
- Sanitize between uses: Meat proteins cling to crevices. A quick vinegar rinse after washing adds an extra safety layer.
- Store properly: Hang it or place it in a dry drawer—never leave it loose in a damp utensil jar.
- Combine methods wisely: Pair mechanical tenderizing with a short acidic marinade (like pineapple juice) for synergistic results—but never exceed 30 minutes, or enzymes will turn your meat rubbery.
Real Results: Case Study from My Kitchen Disaster
I once tried to “rescue” a $30 grass-fed ribeye by pounding it aggressively with a cheap dual-headed mallet I’d repurposed from a hardware store bin (yes, really). Big mistake. Not only did I tear the grain unevenly, but the plastic handle cracked mid-swing, sending shards near my cutting board. Lesson learned: invest in a dedicated food-grade tool. Since switching to a stainless steel bladed tenderizer, my flank steaks now slice like butter—even when grilled medium-well. According to Cook’s Illustrated’s testing lab, bladed tools reduce shear force (the measure of chew resistance) by up to 38% compared to untreated meat (Cook’s Illustrated, 2022).
And no, your meat grinder isn’t a shortcut. As we explain in our About Us section, Pound-On specializes in precision tools—not kitchen hacks that compromise safety or texture.
FAQs About Meat Tenderizers
Can I use a meat grinder as a tool for tenderizing meat?
No. Grinders mince meat into uniform particles—they don’t preserve muscle structure needed for steaks or chops. Tenderizing requires controlled fiber disruption, not shredding.
What’s the difference between a mallet and a bladed tenderizer?
Mallets crush fibers through blunt force; bladed tools make micro-cuts without compressing the meat. Bladed versions generally yield more consistent results with less effort.
How do I clean a bladed tenderizer safely?
Use a soft brush under running water—never submerge the hinge mechanism. Always refer to manufacturer instructions. For hygiene details, see our Privacy Policy regarding food-contact materials.
Do electric meat tenderizers work better?
Not necessarily. Manual tools offer more control. Electric models risk over-processing unless used with extreme caution. Stick with manual for precision.
Can I tenderize frozen meat?
Avoid it. Partially thawed meat is acceptable, but fully frozen fibers are brittle and prone to tearing. Aim for firm-but-pliable texture.
Where can I get personalized advice on meat tools?
We’re happy to help! Reach out via our Contact Us page for expert recommendations tailored to your cooking style.
Remember: the right tool for tenderizing meat doesn’t just save your jaw—it saves your meal, your money, and your reputation as the grill master. Choose wisely, use gently, and never trust a hammer labeled “multipurpose.”
Flank steak tonight?
Tap it right—
Dinner sings.